Securing your Jenkins CI/CD Container Pipeline with Anchore (in under 10 minutes)
(adapted from this blog post by Daniel Nurmi)
As more and more Jenkins users ship docker containers, it is worth thinking about the security implications of this model, where the variance in software being included by developers has increased dramatically from previous models. Security implications in this context include what makes up the image, but also the components of the app that get bundled into your image. Docker images are increasingly becoming a “unit of deployment”, and if you look at a typical app (especially if it is a microservice), much of the components, libraries, and system are someone else’s code.
Anchore exists to provide technology to act as a last line of defense, verifying the contents of these new deployable units against user specified policies to enforce security and compliance requirements. In this blog you will get a quick tour of this capability, and how to add the open-source Anchore Engine API service into your pipeline to validate that the flow of images you are shipping comply with your specific requirements, from a security point of view.
Key among the fundamental tenets of agile development is the notion of “fail fast, fail often”, which is where CI/CD comes in: A developer commits code into the source code repository, such as git, that automatically triggers Jenkins to perform a build of the application that is then run through automated tests. If these tests fail the developer is notified immediately and can quickly correct the code. This level of automation increases the overall quality of code and speeds development.
While some may feel that “fail fast” sounds rather negative (especially regarding security), you could better describe this process as “learn fast” as mistakes are found earlier in the development cycle and can be easily corrected. The increased use of CI/CD platforms such as Jenkins has helped to improve the efficiency of development teams and streamlined the testing process. We can leverage the same CI/CD infrastructure to improve the security of our container deployments.
For many organizations the last step before deploying an application is for the security team to perform an audit. This may entail scanning the image for vulnerable software components (like outdated packages that contain known security vulnerabilities) and verifying that the applications and OS are correctly configured. They may also check that the organization’s best practices and compliance policies have been correctly implemented.
In this post we walk through adding security and compliance checking into the CI/CD process so you can “learn fast” and correct any security or compliance issues early in the development cycle. This document will outline the steps to deploy Anchore’s open source security and compliance scanning engine with Jenkins to add analytics, compliance and governance to your CI/CD pipeline.
Anchore has been designed to plug seamlessly into the CI/CD workflow, where a developer commits code into the source code management system, which then triggers Jenkins to start a build that creates a container image. In the typical workflow this container image is then run through automated testing. If an image does not meet your organization’s requirements for security or compliance then it makes little sense to invest the time required to perform automated tests on the image, it would be better to “learn fast” by failing the build and returning the appropriate reports back to the developer to allow the issue to be addressed.
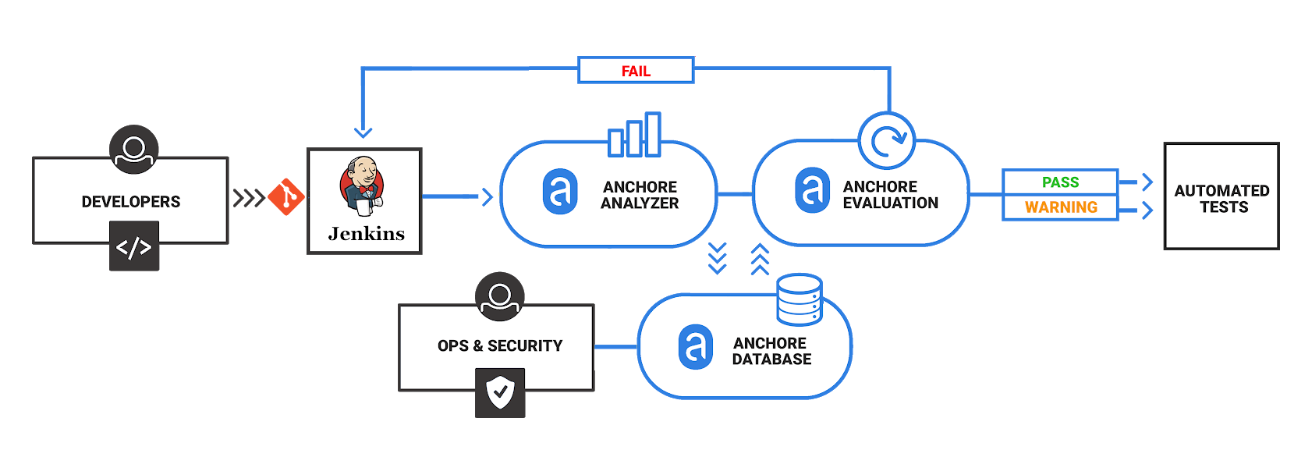
Anchore has published a plugin for Jenkins which, along with Anchore’s open source engine or Enterprise offering, allows container analysis and governance to be added quickly into the CI/CD process.
Requirements
This guide presumes the following prerequisites have been met:
-
Jenkins 2.x installed and running on a virtual machine or physical server.
-
Anchore-Engine installed and running, with accessible engine API URL (later referred to as <anchore_url>) and credentials (later referred to as <anchore_user> and <anchore_pass>) available - see Anchore Engine overview and installation.
Anchore’s Jenkins plugin can work with single node installations or installations with multiple worker nodes.
Step 1: Install the Anchore plugin
The Anchore plugin has been published in the Jenkins plugin registry and is available for installation on any Jenkins server. From the main Jenkins menu select Manage Jenkins, then Manage Plugins, select the Available tab, select and install Anchore Container Image Scanner.

Step 2: Configure Anchore Plugin.
Once the Anchore Container Image Scanner plugin is installed - select Manage Jenkins menu click Configure System, and locate the Anchore Configuration section. Select and enter the following parameters in this section:
-
Click Enable Anchore Scanning
-
Select Engine Mode
-
Enter your <anchore_url> in the Engine URL text box - for example: http://your-anchore-engine.com:8228/v1
-
Enter your <anchore_user> and <anchore_pass> in the Engine Username and Engine Password fields, respectively
-
Click Save
An example of a filled out configuration section is below, where we’ve used “http://192.168.1.3:8228/v1” as <anchore_url>, “admin” as <anchore_user> and “foobar” as <anchore_pass>:

At this point the Anchore plugin is configured on Jenkins, and is available to be accessed by any project to perform Anchore security and policy checks as part of your container image build pipeline.
Step 3: Add Anchore image scanning to a pipeline build.
In the Pipeline model the entire build process is defined as code. This code can be created, edited and managed in the same way as any other artifact of your software project, or input via the Jenkins UI.
Pipeline builds can be more complex including forks/joins and parallelism. The pipeline is more resilient and can survive the controller node failure and restarts. To add an Anchore scan you need to add a simple code snippet to any existing pipeline code that first builds an image and pushes it to a docker registry. Once the image is available in a registry accessible by your installed Anchore Engine, a pipeline script will instruct the Anchore plugin to:
-
Send an API call to the Anchore Engine to add the image for analysis
-
Wait for analysis of the image to complete by polling the engine
-
Send an API call to the Anchore Engine service to perform a policy evaluation
-
Retrieve the evaluation result and potentially fail the build if the plugin is configured to fail the build on policy evaluation STOP result (by default it will)
-
Provide a report of the policy evaluation for review
Below is an example end-to-end script that will make a Dockerfile, use the docker plugin to build and push the a docker container image to dockerhub, perform an Anchore image analysis on the image and the result, and cleanup the built container. In this example, we’re using a pre-configured docker-exampleuser named dockerhub credential for dockerhub access, and exampleuser/examplerepo:latest as the image to build and push. These values would need to be changed to reflect your own local settings, or you can use the below example to extract the analyze stage to integrate an anchore scan into any pre-existing pipeline script, any time after a container image is built and is available in a docker registry that your anchore-engine service can access.
pipeline {
    agent any
    stages {
        stage('build') {
            steps {
                sh'''
                    echo 'FROM debian:latest’ > Dockerfile
                    echo ‘CMD ["/bin/echo", "HELLO WORLD...."]' >> Dockerfile
                '''
                script {
                    docker.withRegistry('https://index.docker.io/v1/', 'docker-exampleuser') {
                        def image = docker.build('exampleuser/examplerepo:latest')
                        image.push()
                    }
                }
            }
        }
        stage('analyze') {
            steps {
                sh 'echo "docker.io/exampleuser/examplerepo:latest `pwd`/Dockerfile" > anchore_images'
                anchore name: 'anchore_images'
            }
        }
        stage('teardown') {
            steps {
                sh'''
                    for i in `cat anchore_images | awk '{print $1}'`;do docker rmi $i; done
                '''
            }
        }
    }
}
This code snippet writes out the anchore_images file that is read by the plugin to determine which image is to be added to Anchore Engine for scanning.
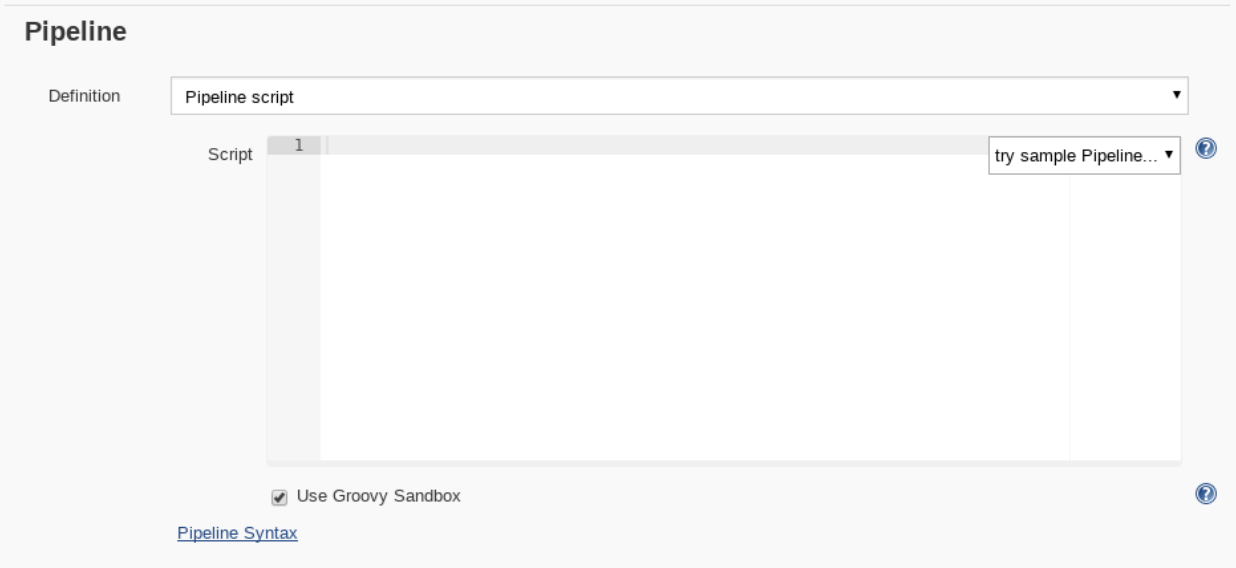
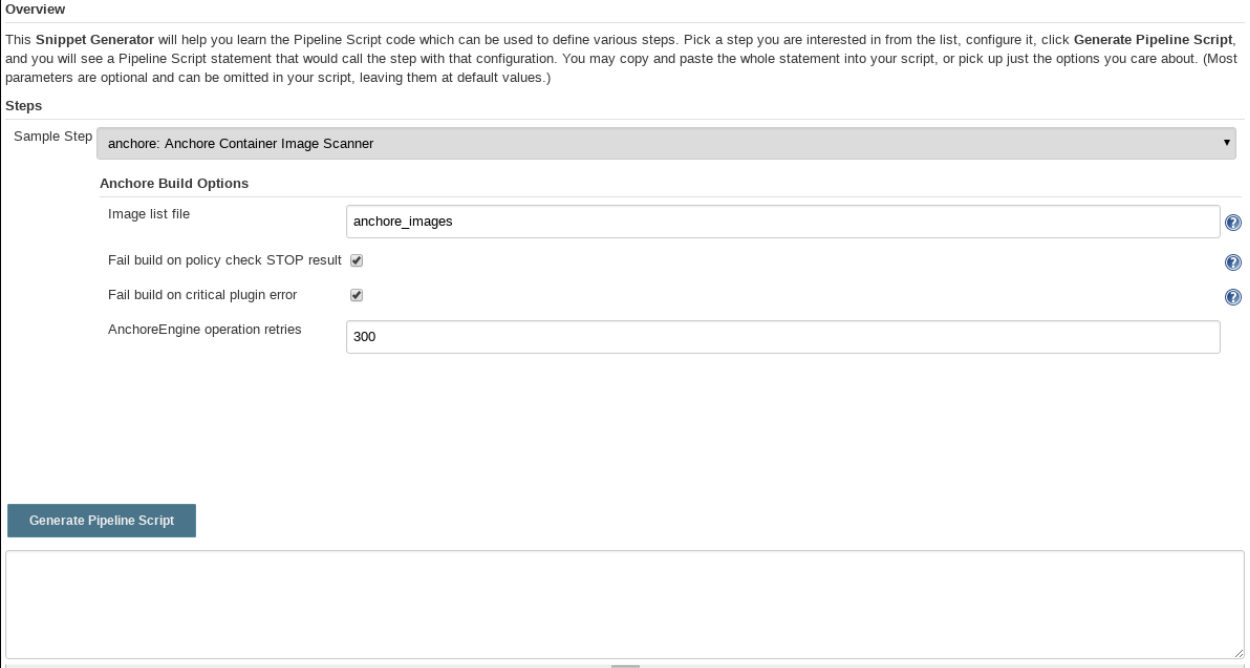
This code snippet can be crafted by hand or built using the Jenkins UI, for any Pipeline project. In the project configuration, select Pipeline Syntax from the Project.
This will launch the Snippet Generator where you can enter the available plugin parameters and press the Generate Pipeline Script button which will produce a snippet that you can use as a starting point.
Using our example from above, next we save the project:
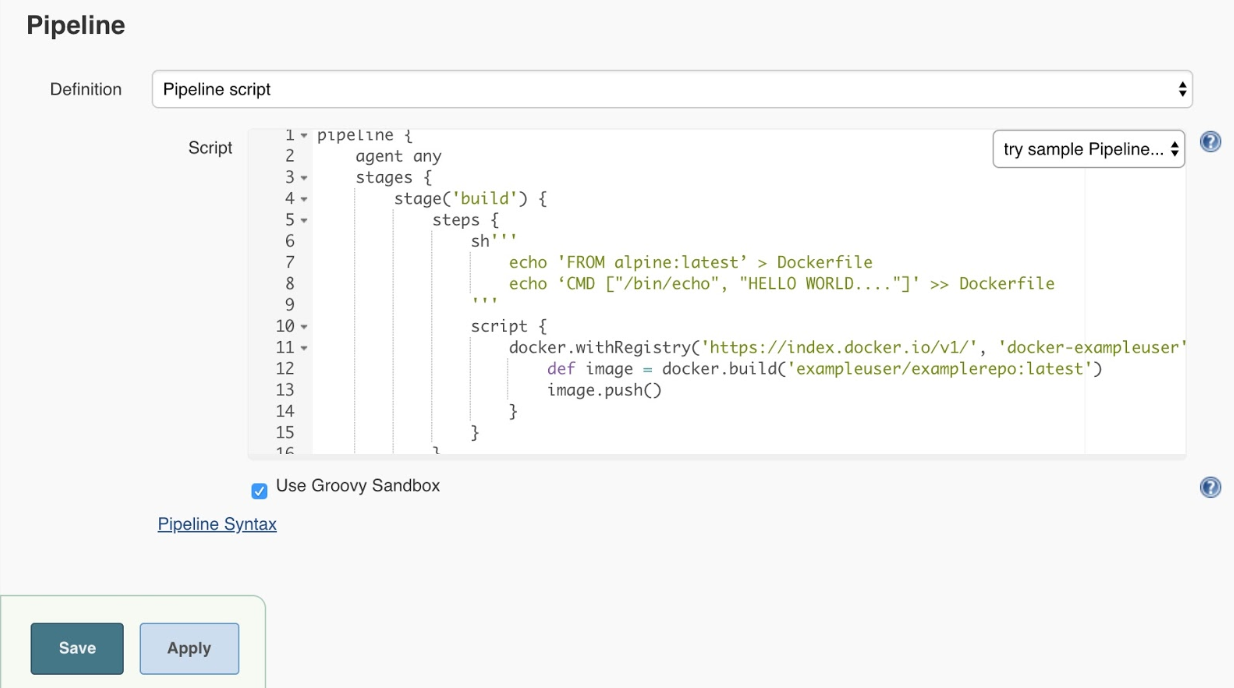
Note that once you are happy with your script, you could also check it into a Jenkinsfile, alongside the source code.
Step 4: Run the build and review the results.
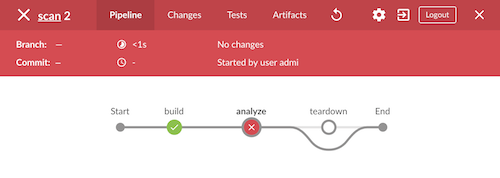
Finally, we run the build, which will generate a report. In the below screenshots, we’ve scanned the image docker.io/library/debian:latest to demonstrate some example results. Once the build completes, the final build report will have some links that will take you to a page that describes the result of the Anchore Engine policy evaluation and security scan:

In this case, since we left the Fail build on policy STOP result as its default (True), the build has failed due to anchore-engine reporting a policy violation. In order to see the results, click the Anchore Report (STOP) link:

Here, we can see that there is a single policy check that has generated a ‘STOP’ action, which triggered due to a high severity vulnerability being found against a package installed in the image. If there were only ‘WARN’ or ‘GO‘ check results here, they would also be displayed, but the build would have succeeded.
With the combination of Jenkins pipeline project capabilities, plus the Anchore scanner plugin, it’s quick and easy to add container image security scanning and policy checking to your Jenkins project. In this example, we provide the mechanism for adding scanning to a Jenkins pipeline project using a simple policy that is doing an OS package vulnerability scan, but there are many more policy options that can be configured and loaded into Anchore Engine ranging from security checks to your own site-specific best practice checks (software licenses, package whitelist/blacklist, dockerfile checks, and many more). For more information about the breadth of Anchore policies, you can find information about Anchore Engine configuration and usage here.
For more information on Jenkins Pipelines and Anchore Engine, check out the following information sources: